The Witcher
Main Title Sequence
Self Initiated - 2021
During lockdown in 2020, I took the Styleframes course by Zaoeye on Learn Squared to improve my craft. The course taught me C4D and Octane and how to texture, light, and render style frames. For the final project, I developed a main title sequence from scratch, including animation.
Here is my process.
Deliverables
Animation
Client
Self initiated
Year
2021
Ideation and mind map
I’ve been an avid fan of the Witcher since the first game release; since then I have read all the novels and played all the games. I was extremely exited when Netflix got the rights to make a TV Series and Henry Cavil was starring in it.
After I watched the Series, and seeing there was no title sequence it dawned on me that there was an opportunity to create my passion project.

I need to thank Ash Thorp for this workflow. Starting by laying down all your ideas and creating connections in-between them is a great way to kickstart a project.
Concept
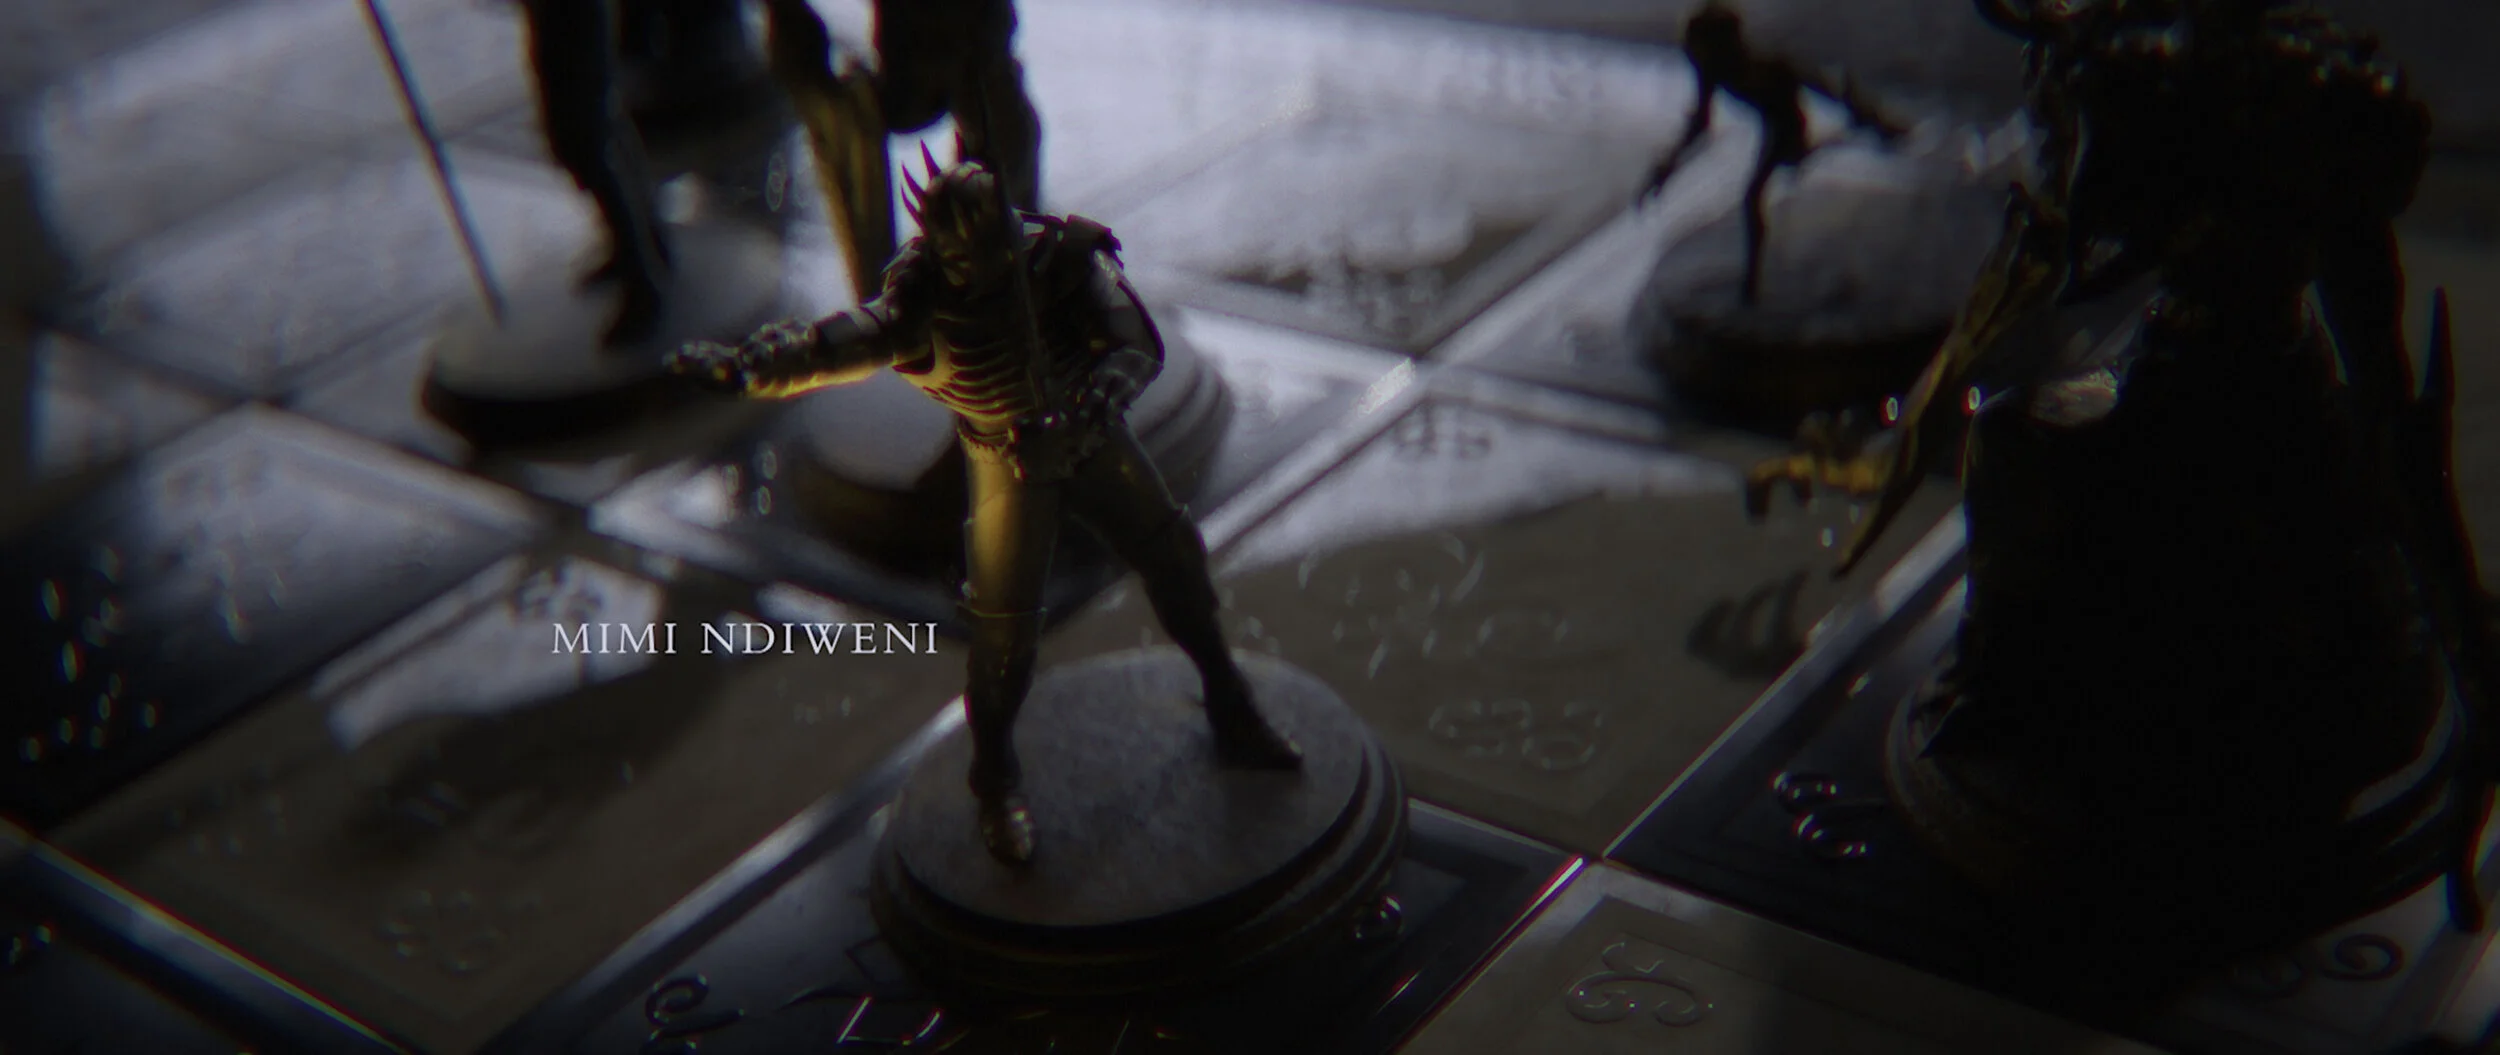
I came with the analogy of the chess game early on, which allows me to highlight the battle between good and evil and the political intricacies key to the story. It was also a great way to showcase the characters of the books while keeping the animations to an achievable level. I started working on this project before discovering the title sequence for Hunters, the Amazon Prime Show. After watching the amazing work done by Elastic, I knew I had to up my game.
Posing
Mixamo is a brilliant website by Adobe. It allows you to upload a character and attach a basic human rig to it. Once set-up you can pick and choose from a massive animation library.


Textures
A chess set implies a play with blacks and whites. I loved the work of Imaginary Forces on Black Sails and wanted to dive deep into texturing.


For the light pieces, after trying some silver, alabaster and marble I ended up deciding to go with an ivory material. Ivory was also used on the Lewis Chessmen. (Chess pieces from the 12th century.)
The Dark pieces were more straight forward. I based my material on old bronze statues that had worn of edges.


Octane node editor got pretty messy. If I were to redo these I’d use the new Octane Blend material instead of the Mix Material, makes for a much more tidy work space.


Animation


After watching the Art of the Title’s article about Hunter’s title sequence I revisited my motion to add in some vibration as it moves. I could not simulate every animation like Elastic, but faked it by having a vibrate tag on the rotation whenever a piece would move forward.
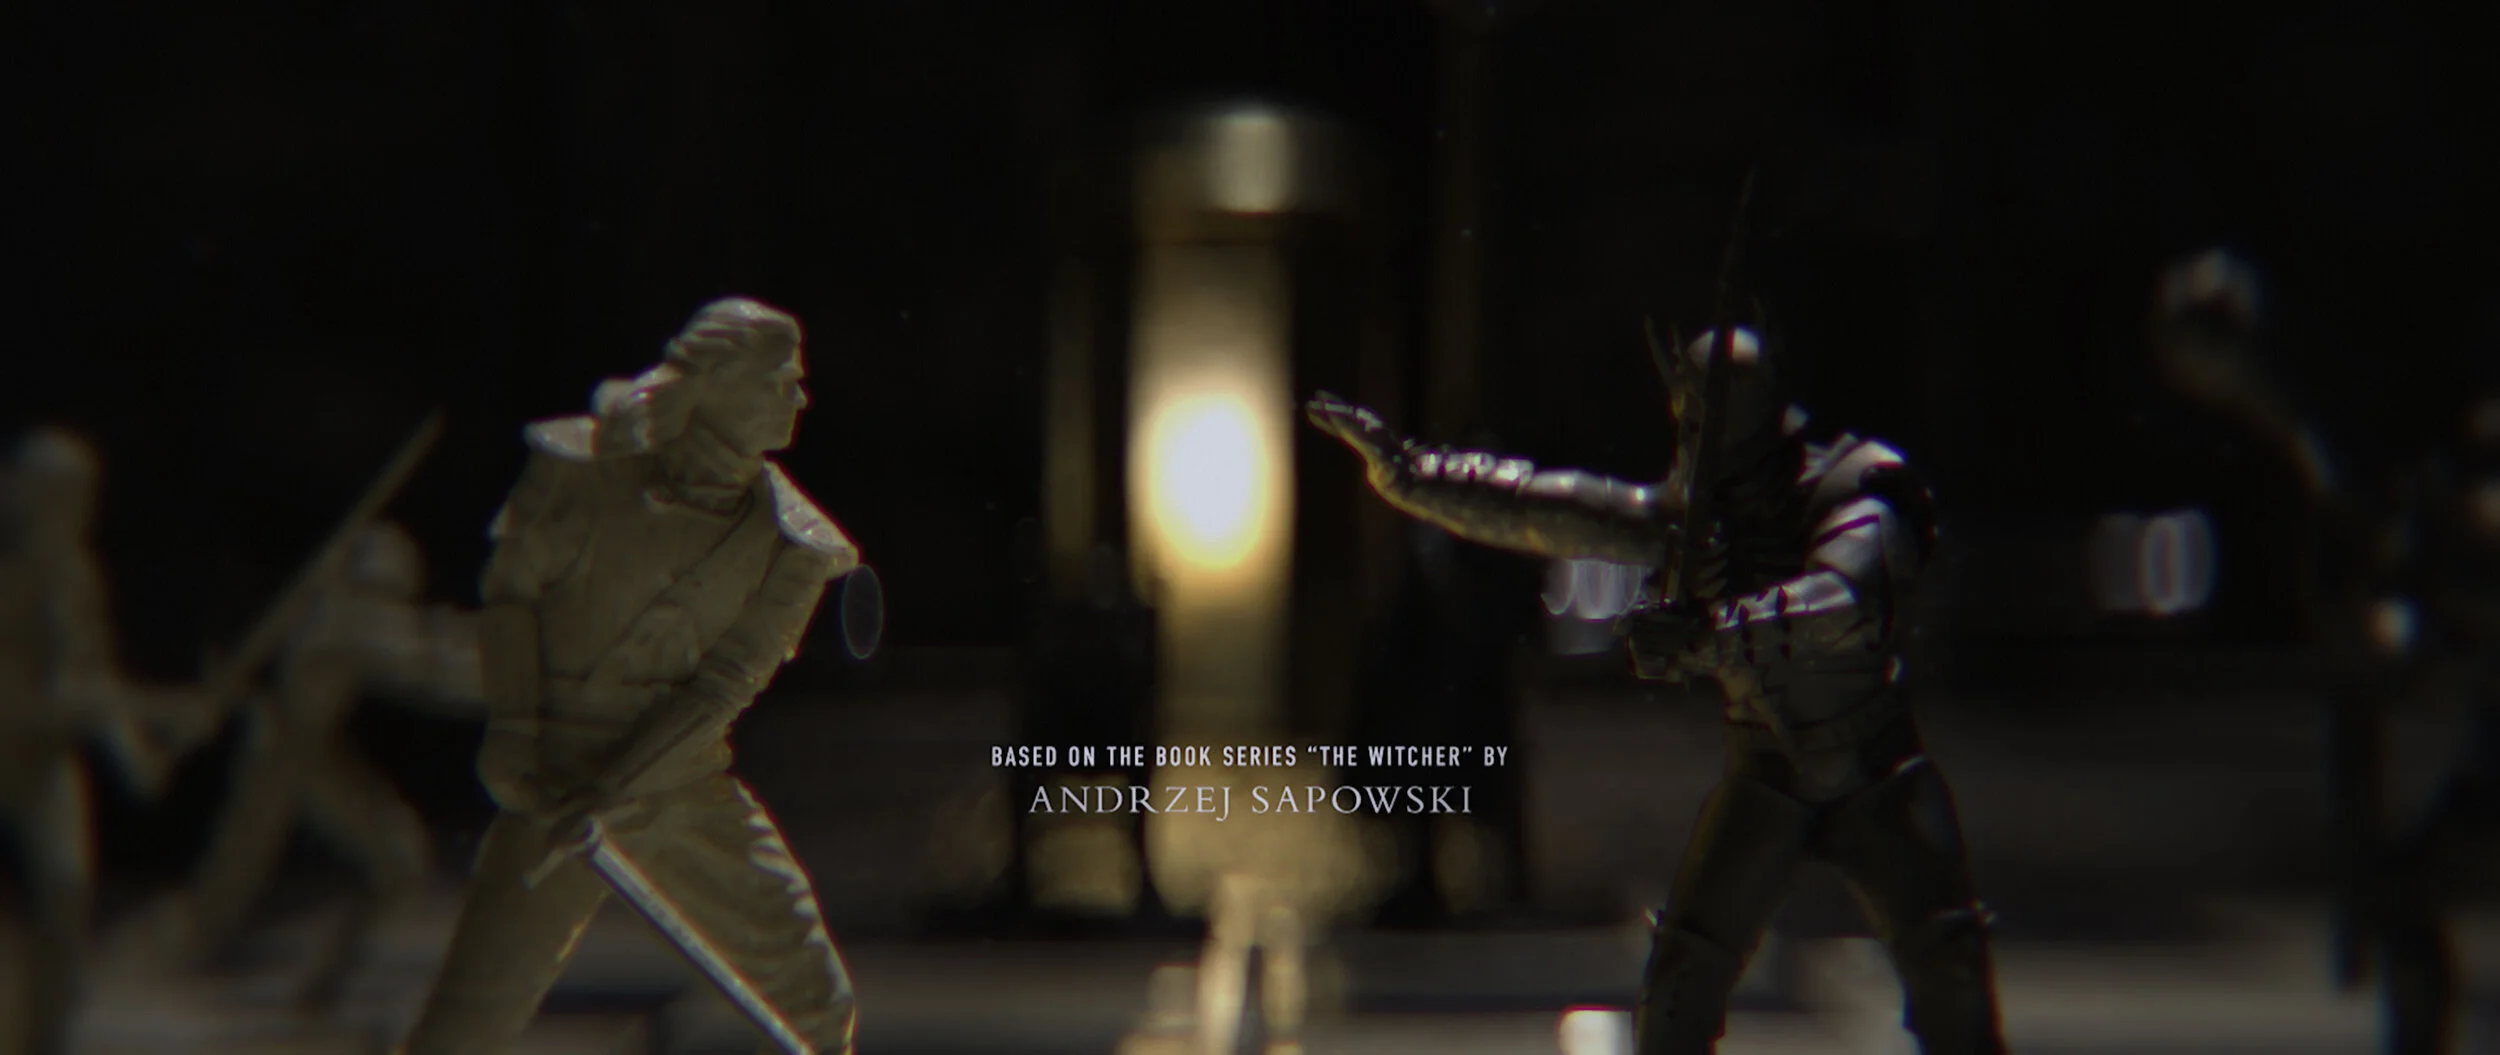
Lighting
I played with candle lights and moonlight. Mixing color temperature and having flickering warm lights. Having some large sweeping motion coming form the moon during time-lapse.

As a time-lapse photographer myself, it’s pretty magical how much can be achieved by rotating an HDRI.

I had to learn the very basic of Xpresso for the occasion. Thanks to Sam Tato for his candle flame tutorial.
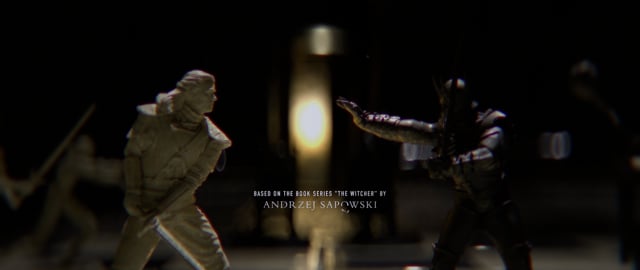
Typefaces
I knew I wanted to have two very contrasted fonts with only a subtle animation on it. Having it brake as if hit by a blade fit with the Witcher’s theme well and gave it just that touch of animation I was looking for.

Bembo is an Old Style Serif released in 1929 based on the work of Giovanni Antonio Tagliente a printer during the 15th-16th century in Venice and is very reminiscent of the renaissance era.

DIN 1451 Condensed is a German standardized sans serif font. Used on the road signs and license plates it has a minimal and modern design.

Compositing
To make the most of my renders, I exported multi-pass EXR sequences. This allows to tweak each and every aspect of the image once rendered.

To increase the realism, I choose to stay with a set of existing lenses. I picked 2X anamorphic in the following focal lengths. 22mm, 28mm, 35mm, 40mm, 50mm, 60mm, 75mm, 100mm and 180mm. Never opening the aperture passed T1.9. These lenses create oval bokeh, streaked lens flare and have a more pronounced vignette. To be able to achieve the macro effect, you must reduce the focal distance of the lenses by adding diopters (a front lens elements that changes your range of focus). Increasing the chromatic aberrations and shallow depth of field. Tools like Quick Chromatic Aberrations 2 and Diopter were really great to bring these one step closer to reality.
David Ariew’s was teasing his course on School of Motion at the same time I was working on this and learned a ton from his series of quick tips “Making renders look better”.
Final Frames


CREDITS:
The 3D models in this sequences were created by the following:
Henry Cavil’s Geralt by The Printing Goes Ever On
Ancient Leshen by Jukka Seppänen
Crone 1, Crone 2, Crone 3 by Pinyo Gulashart
Nekker and Rogg the troll scanned by geek_dad
All the other characters and assets are from the Witcher 3: Wild Hunt game files by CD Project Red